List of things you'll need to get started:
Hose (in the appropriate size to match your brake ducts)
4X hose clamps
2X aluminum flanges (in the appropriate size to match your brake ducts)
6X M6x15mm screws and matching nuts/washers (similar size screws work as well)
Plastic epoxy of your choice
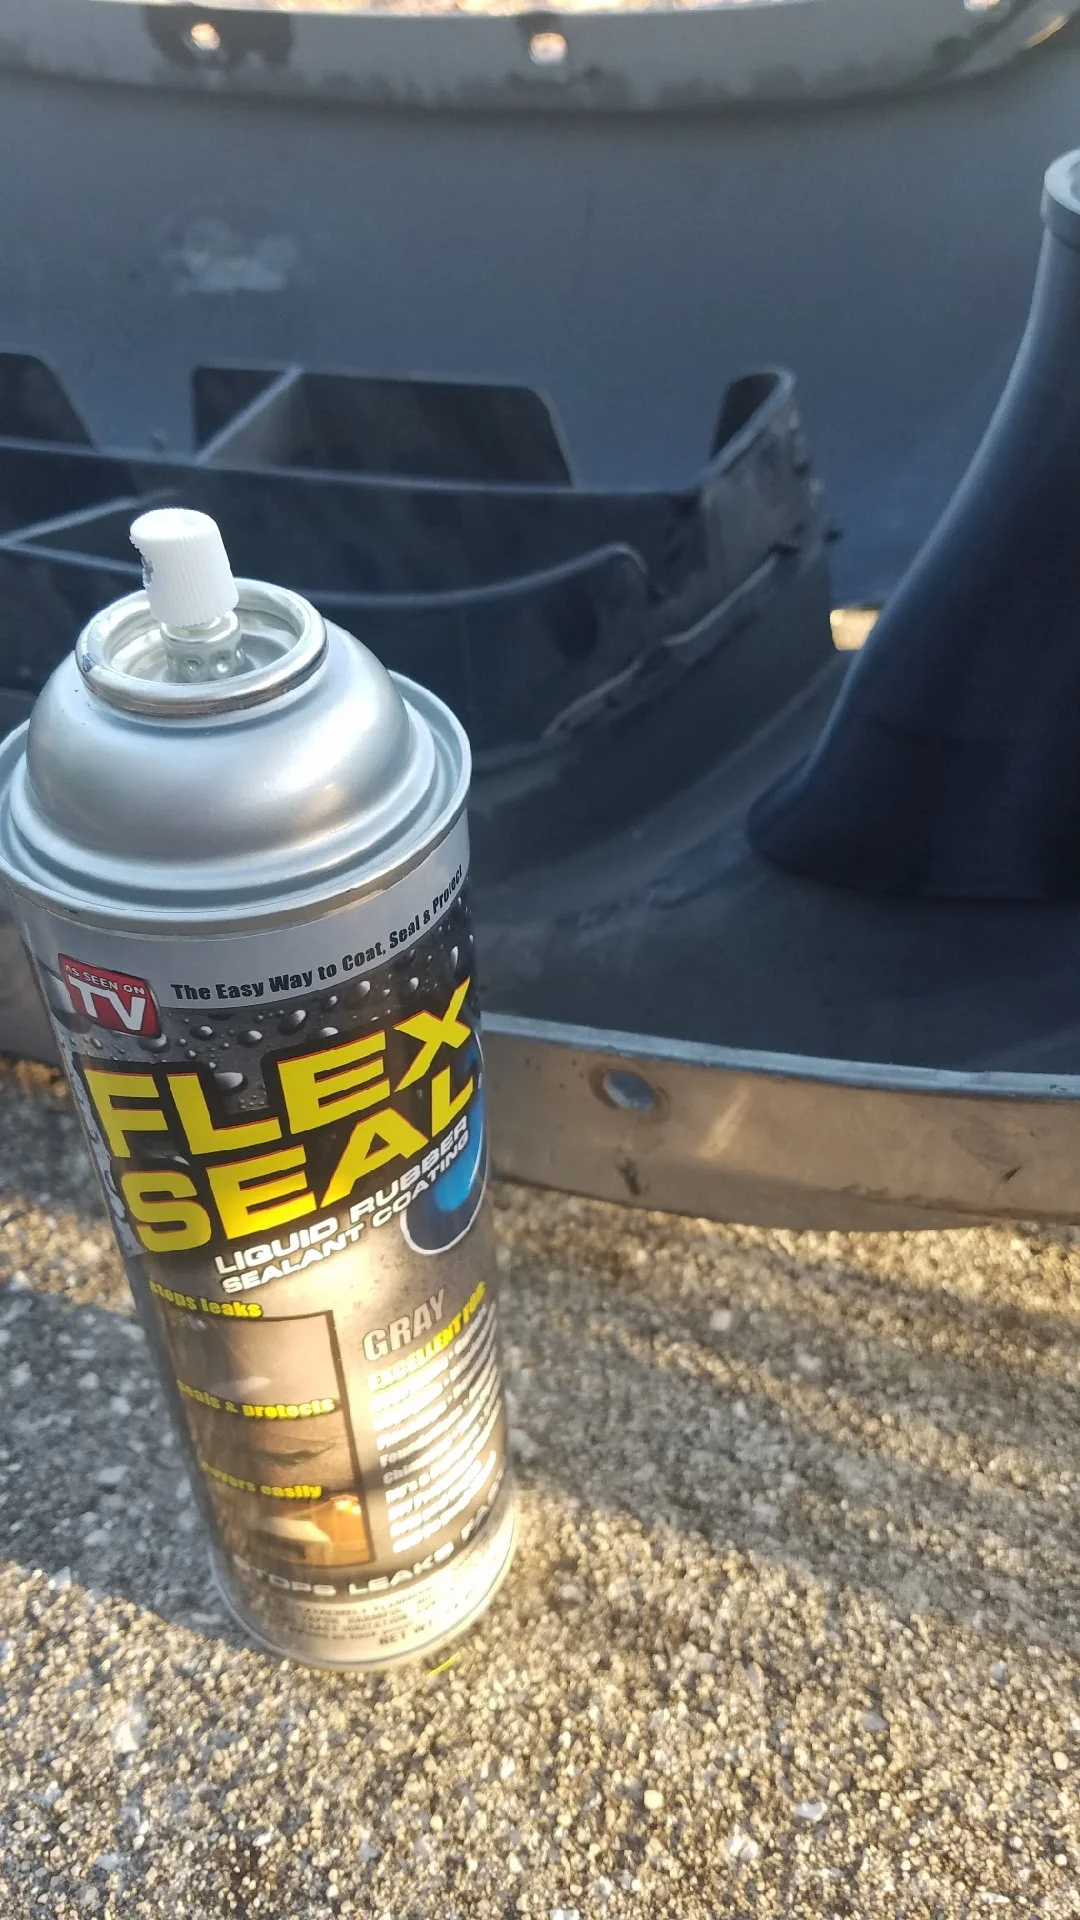
Flex Sealer, duct tape, RTV (whichever you have handy)
Hole saw (in the appropriate size to match your ducts)
A few 14" zip ties
Step 1: Bumper cutout
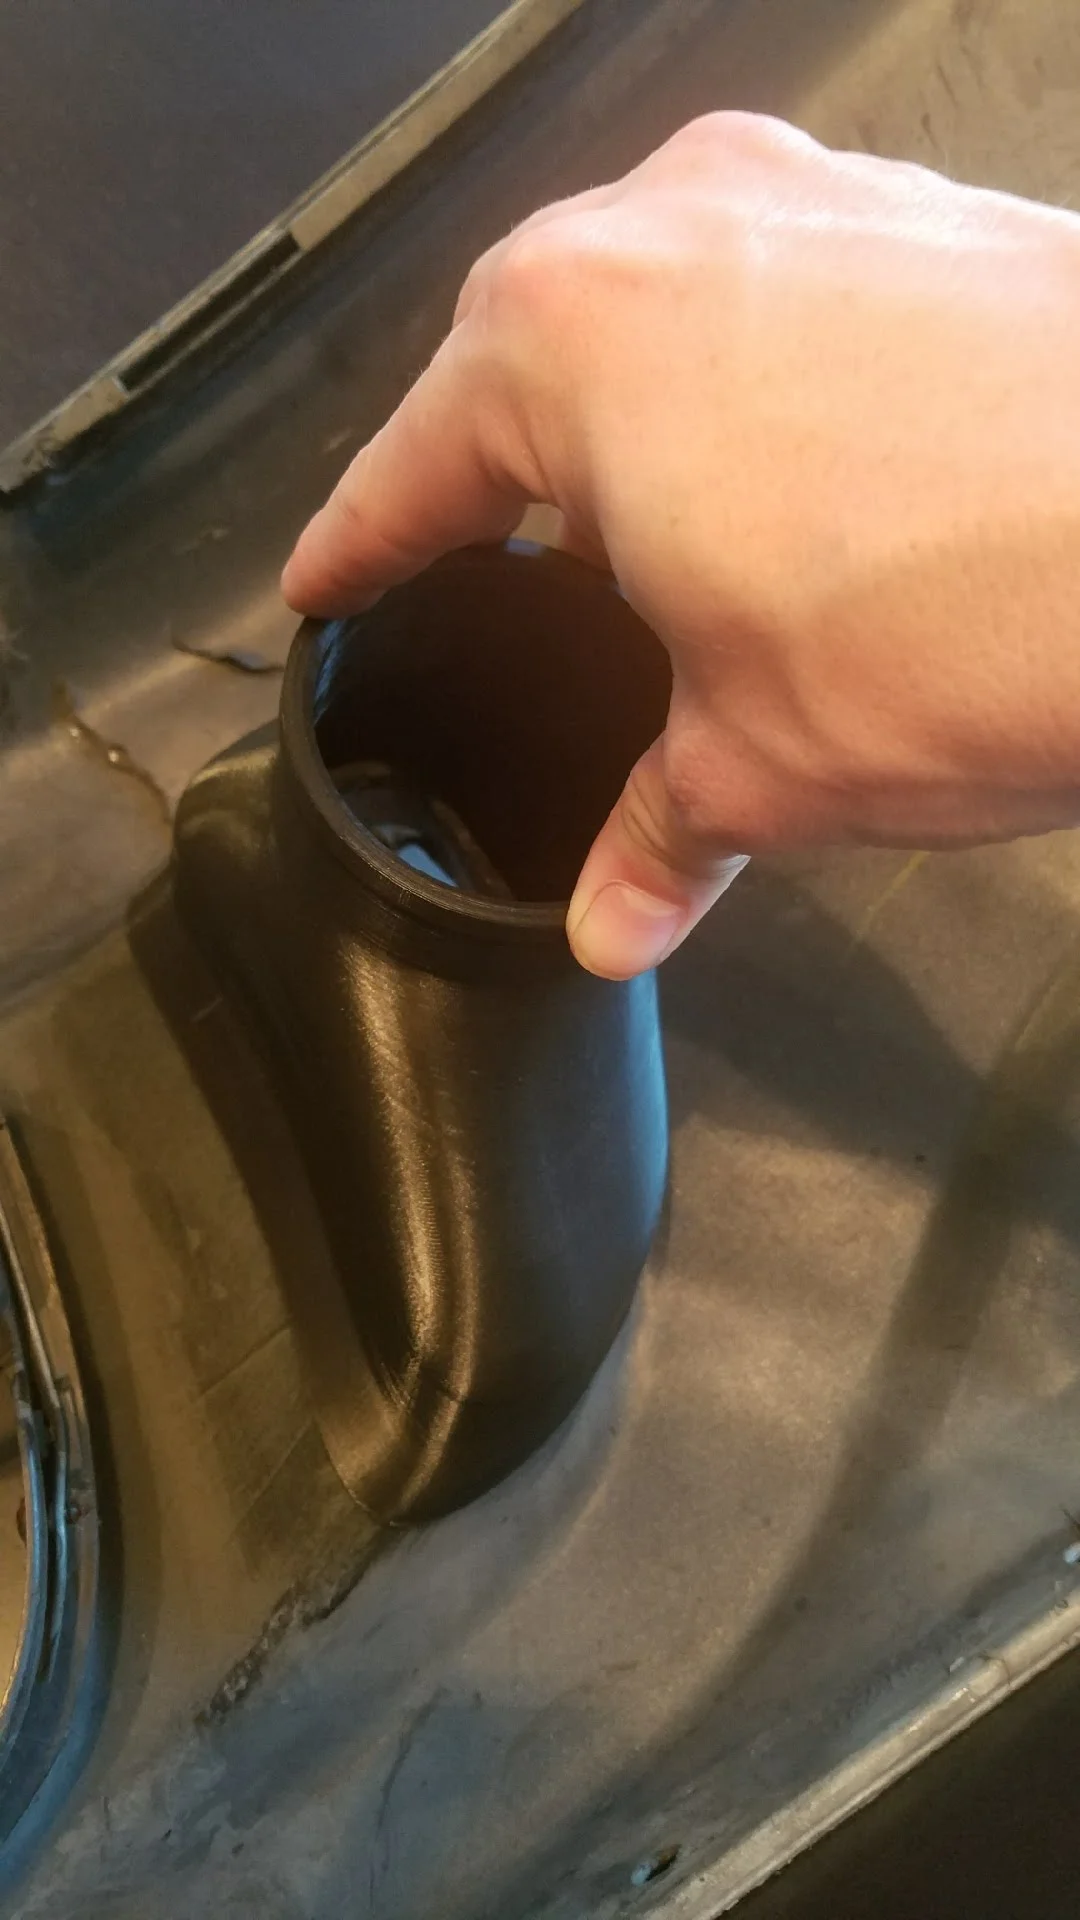
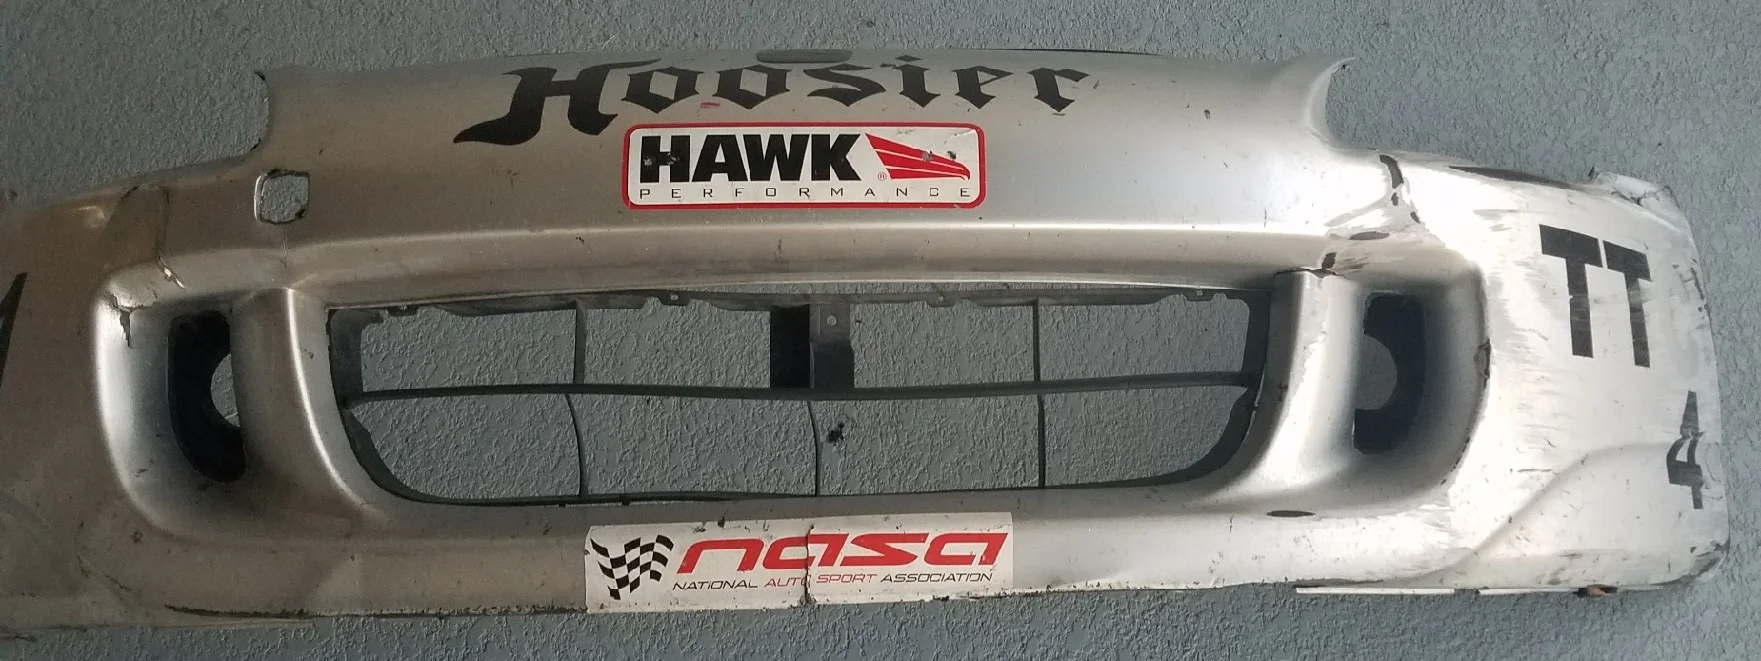
I'm going to begin the install after the front bumper is removed since there are numerous tutorials for that so far. Once that is completed, lay the bumper face down (on a soft surface so you don't scratch it). Then cut the inside face of the faux covers using the cutting tool of your choice. I did mine with a circular cutting tool.
Inside of bumper cut
Another view of cut bumper
This is what the cut portion will look like when you're done. These pieces can be thrown away as they are not reused.
step 2: Sand bumper flat
Use a sanding block or power sander to sand the surface you just cut smooth. It does not need to be perfectly flat, but try and remove as many sharp edges as you can.
step 3: glue ducts to bumper
Use any form of plastic epoxy to attach the brake ducts to the bumper. While the glue is curing make sure to hole the duct in place as far into the bumper and as straight as you can.
Epoxy on the inside lip of the brake duct. Be very liberal with application.
step 4:
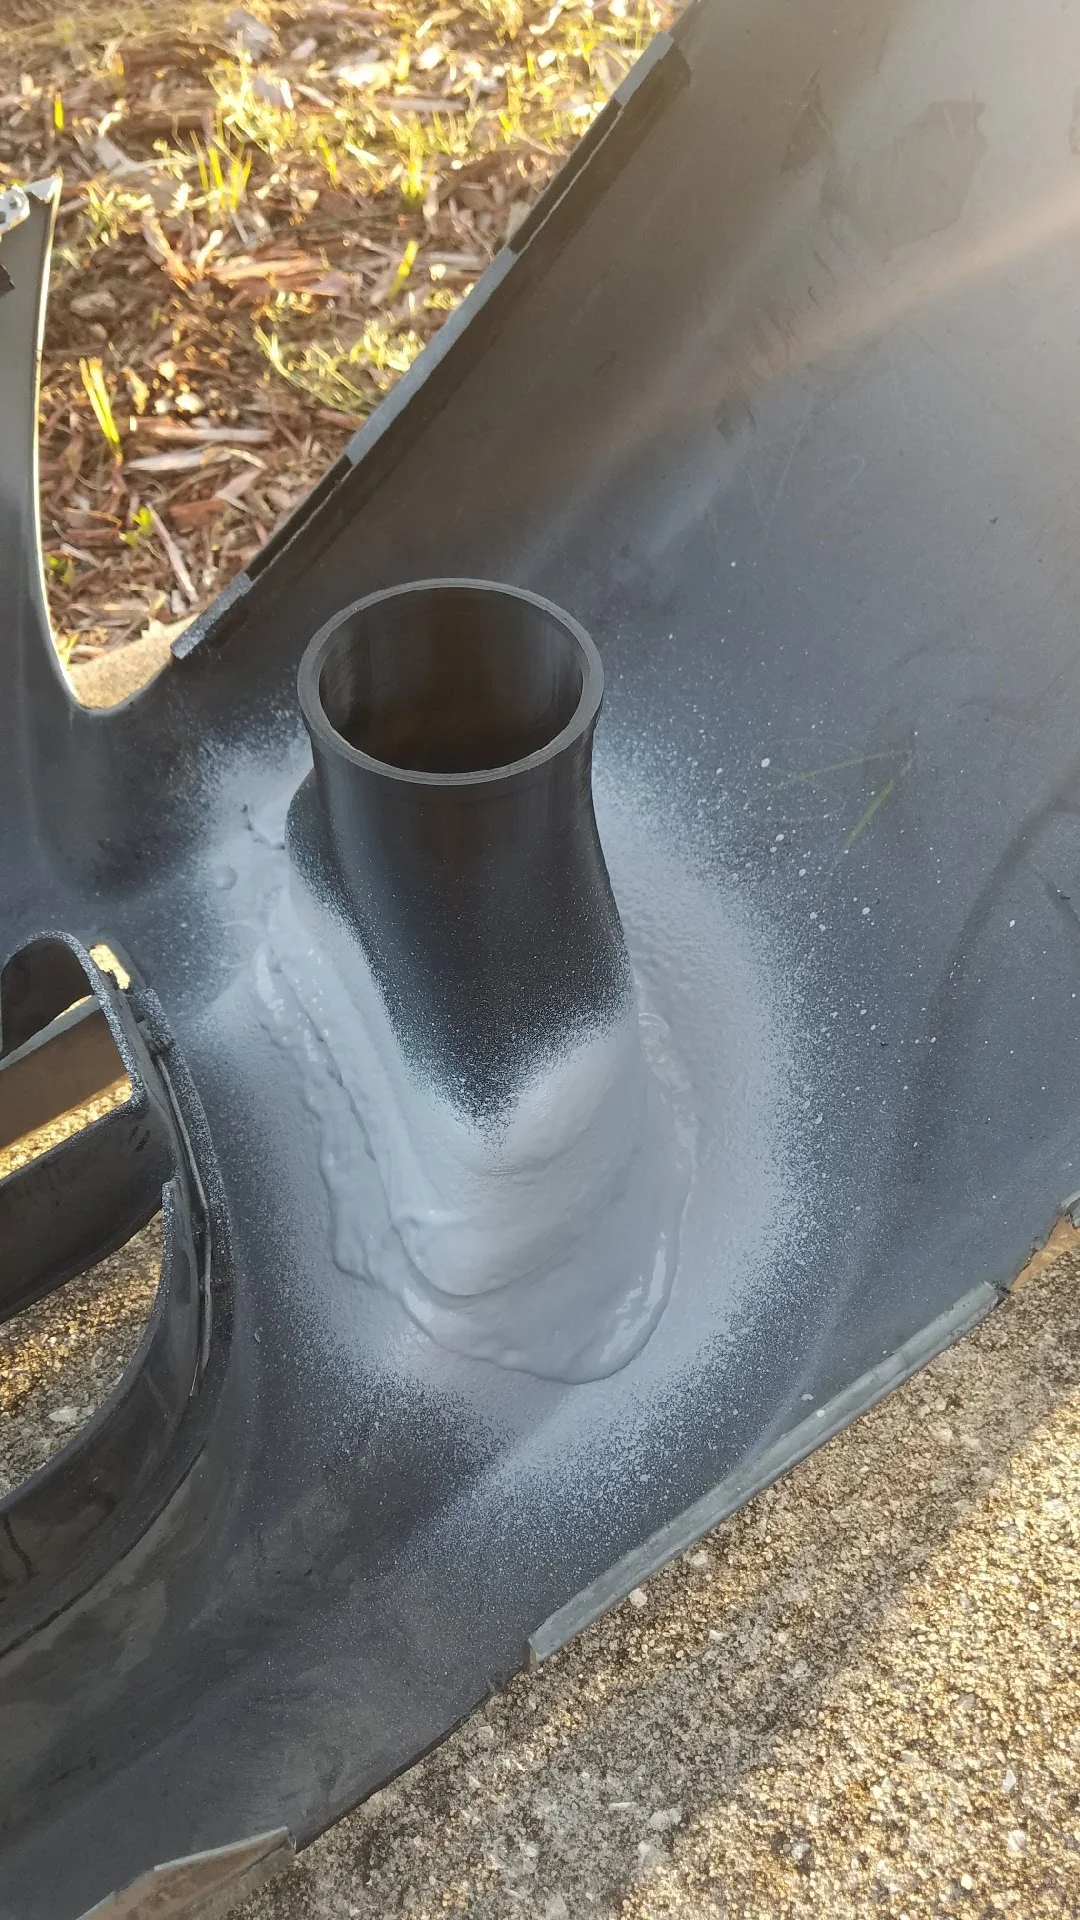
Spray the flex seal to make sure no air gets out. You can also wrap it in duct tape or RTV for the same effect. I doubt anything will get out of the epoxy, but this helps in case there are any gaps.
step 5:
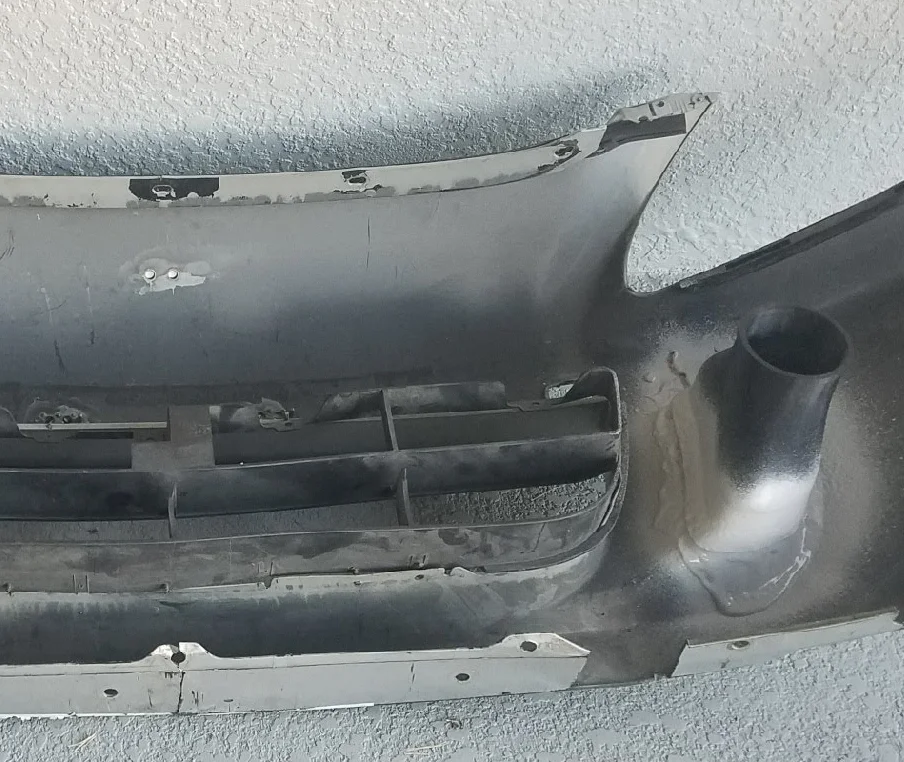
Admire your handiwork.

